


New to Git?
If you are a newbie in the software engineering environment, you must be wondering how the git thingy works, and you must have googled loads of git related phrases and sentences and the result seems to be a little bit too extra to grasp? Well…worry no more. Git is easy to learn! Just get the concept and the rest of it will be a walk in the park!.
First, let's try to break it down into really simple and relatable terms,
Have you ever unintentionally deleted a very important file completely, with no clue on how to get it back? Well, that could be really disastrous!
Now, every developer wants to protect their codebase at all costs, no one wants to Labour so much to find out that their project disappeared overnight because their hard disk got corrupted or someone else got careless and deleted their files without a backup. Product owners want to be assured of the safety of their source codes and since there is a consistent update of the existing codebase, there is a need to protect the code from inadvertent disaster. This is where git comes in.
What is git?
Git is a very popular free and open-source distributed version control tool designed to handle everything from small to very large projects.
See it as a software tool that helps a software team manage changes to source code, keep track of every modification to the code in a special kind of database(Repository).
In other words, with git, all those scary moments of losing files will remain in thoughts because developers working on a project can easily collaborate and save and track multiple versions of their work, undo changes and boost workflow.
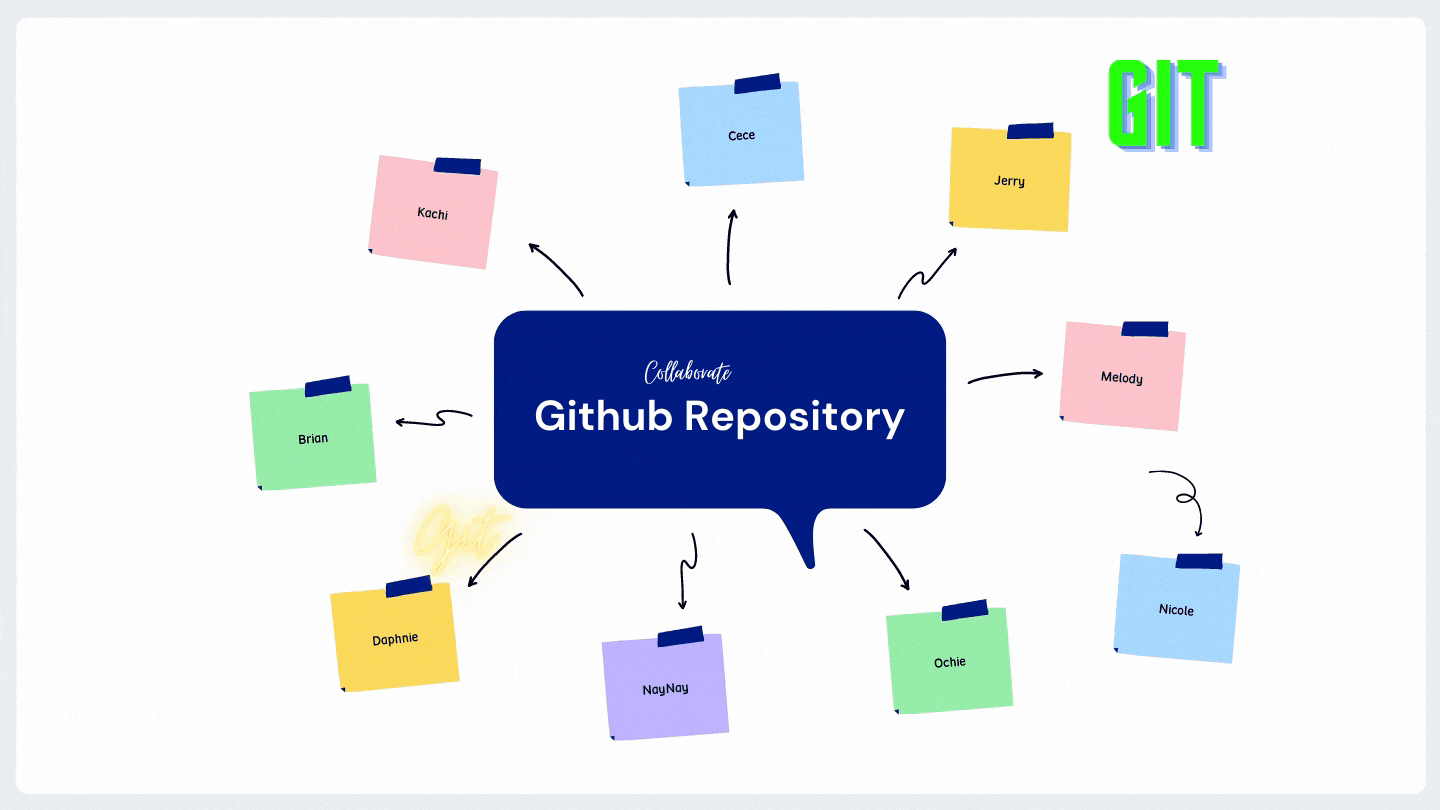
A typical example of a git situation is a scenario where a developer on a team may be working on a new feature while another developer fixes a bug from the existing codebase, another working on the user experience, and yet another working on maintaining an existing feature, with git, each developer may make their changes in several parts of the codebase, without interference from one another. If a mistake is made, developers can turn back the clock and compare earlier versions of the code to help fix the mistake without affecting other members of the team.
Git allows developers to track changes by each contributor and this, therefore, prevents code conflicts, since we now know who pushed what, to the repository.
Now let's get started! Shall we?…..
Before we proceed, we need to get git in our local computer git-scm.com/book/en/v2/Getting-Started-Inst..
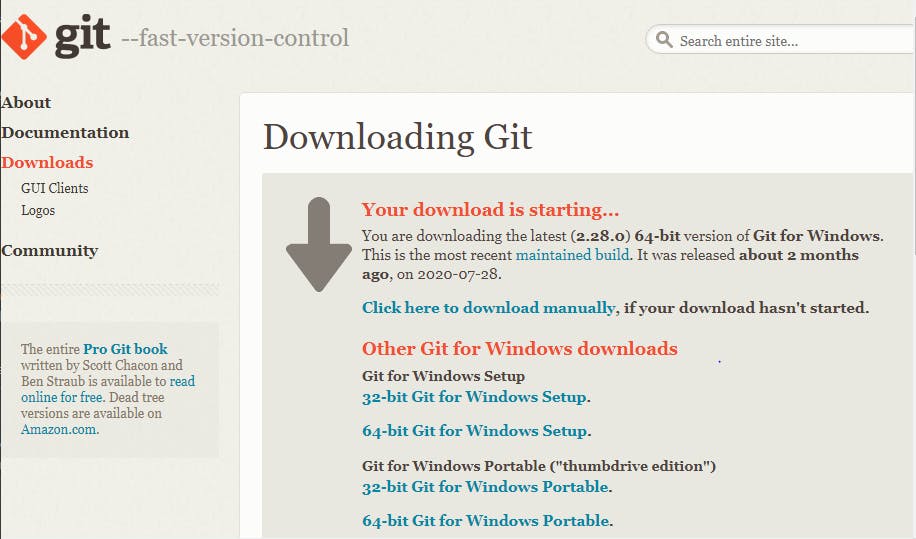
Installing on Windows
To install Git on Windows. Just go to Git for windows to download the most official build and the download will start automatically. Note that this is a project called Git for Windows, which is separate from Git itself; for more information on it, go to gitforwindows.org.
 Github Desktop is also another option, the installer includes a command-line version of Git as well as the GUI. Github Desktop
Installing on mac
There are several options for installing Git on macOS but we will explore Homebrew in this case, but first check if Git works by running the following command:
$ git --version
Install homebrew if you don't already have it from Homebrew, and then If git doesn't already exist on your local machine, run the command below
$ brew install git
Next, Tell Git who you are
After installation, you need to tell git who you are, and you can do this by setting up your email and password. Git needs this to specify the source of your changes and to distinguish from the changes made by others
$ git config --global user.name "cece"
$ git config --global user.email cece@example.com
Again, you need to do this only once if you pass the --global option because then Git will always use that information for anything you do on that system. If you want to override this with a different name or email address for specific projects, you can run the command without the --global option when you’re in that project.
Many of the GUI tools will help you do this when you first run them.
To be continued...